Events & Frames
Create events, add frames, and configure every capture option per frame — countdown, retakes, GIF, stickers, survey and timeouts.
The Events & Frames tab
Open Settings
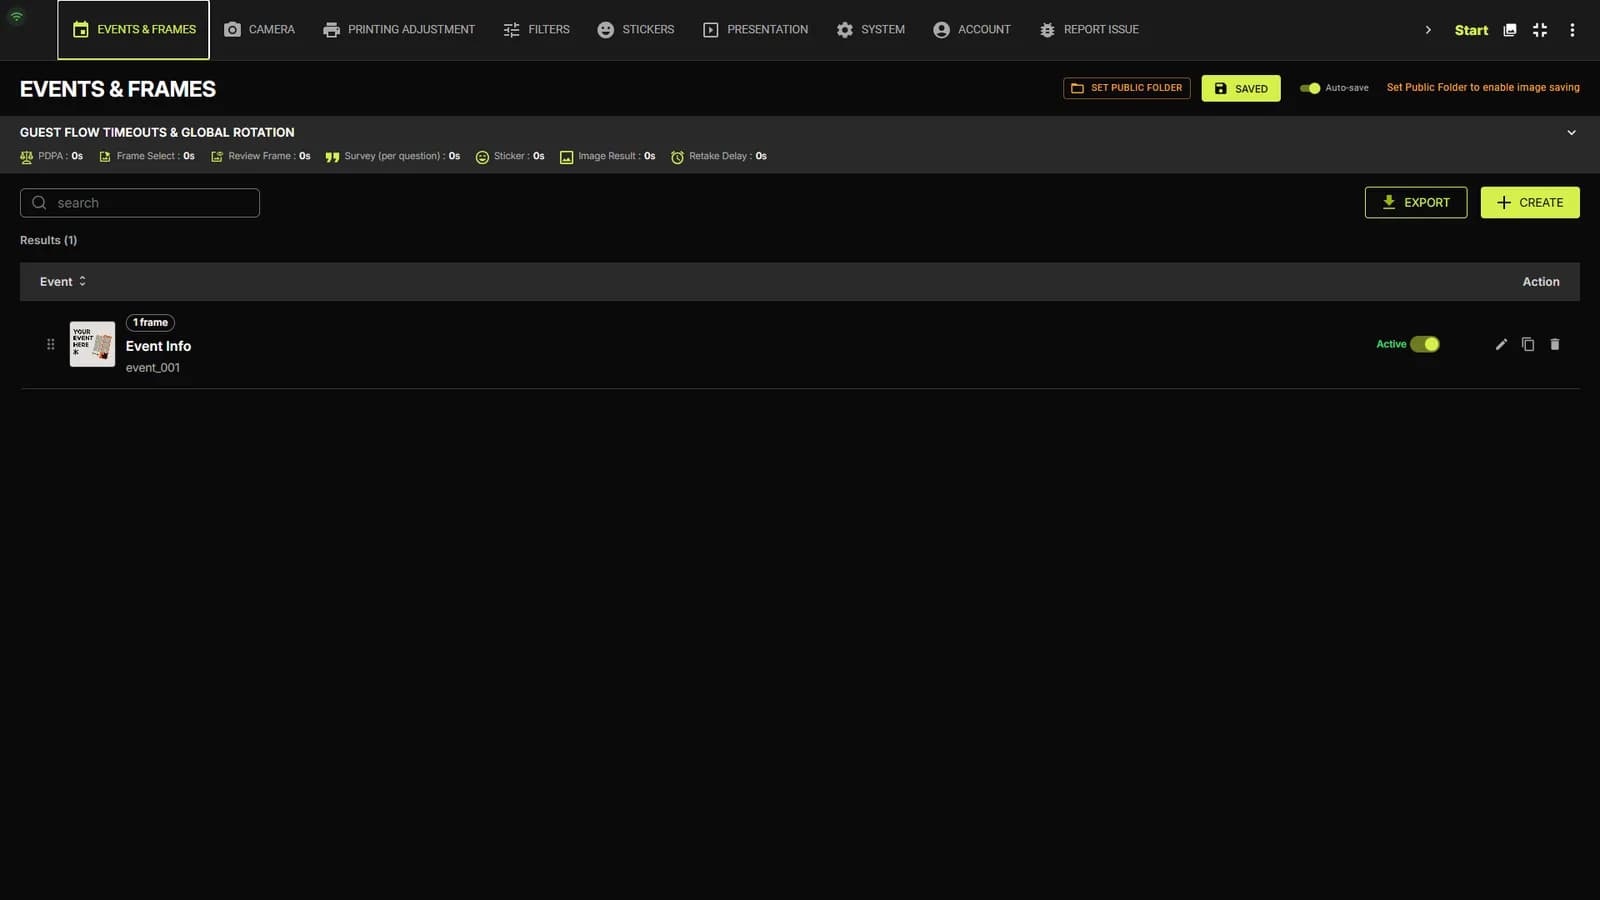
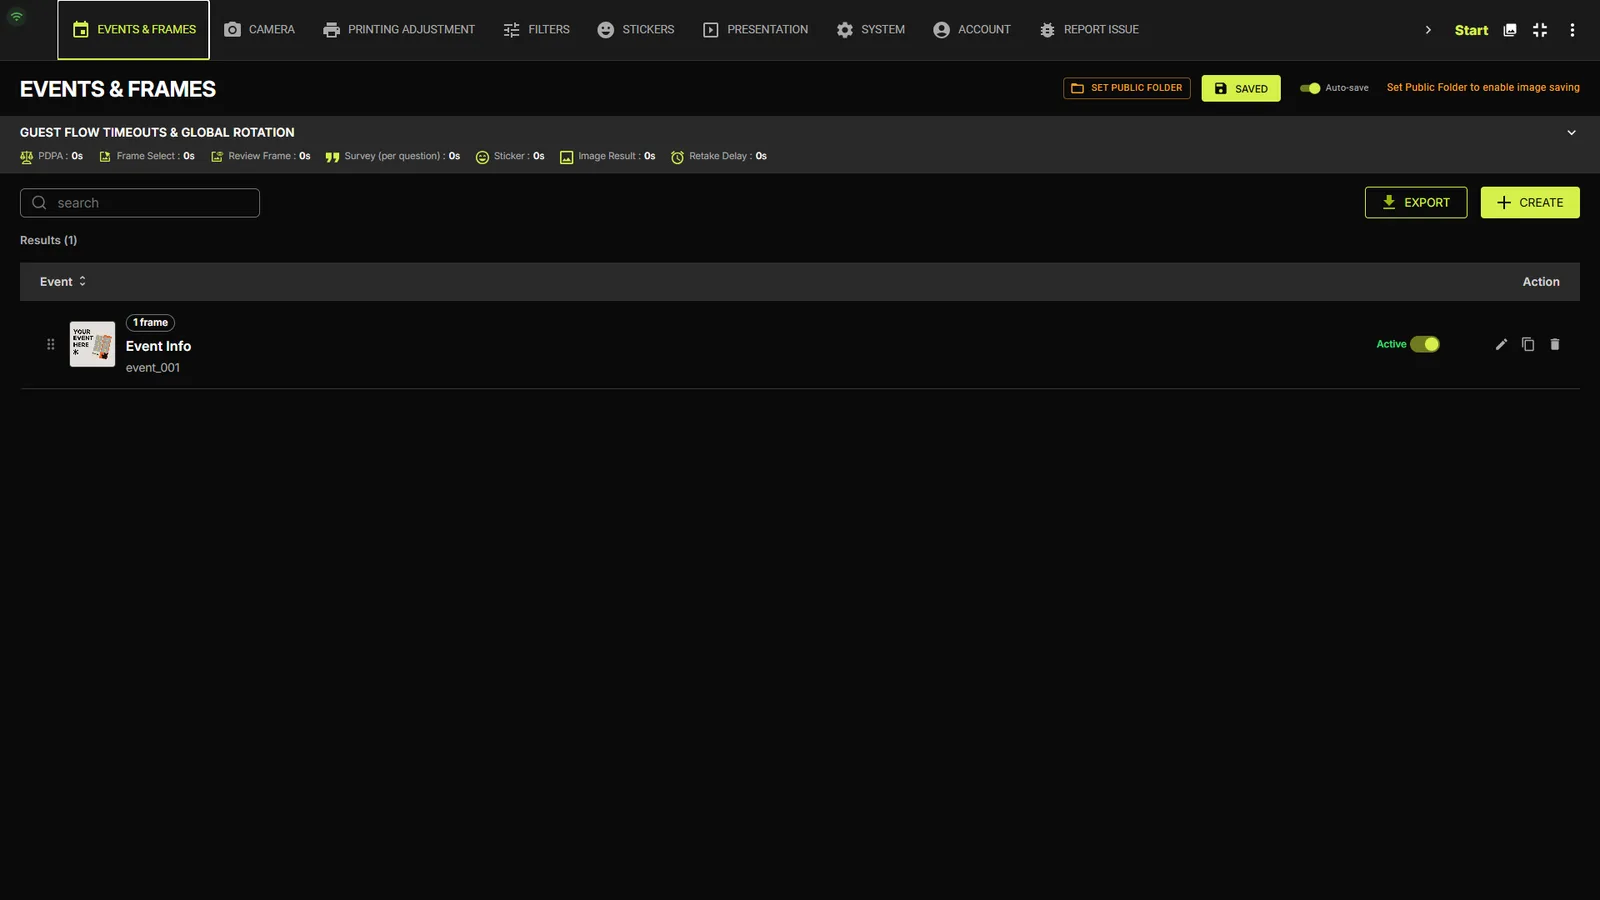
Tap the ⚙ icon in the top-right corner of the event screen. The Settings hub opens on the EVENTS & FRAMES tab, listing every event with its Active toggle, edit, duplicate and delete actions, plus search and sorting.
TipSAVE NOW and the Auto-save switch sit at the top-right of the editor. With Auto-save on, every change persists as you go.
Guest flow timeoutsPro
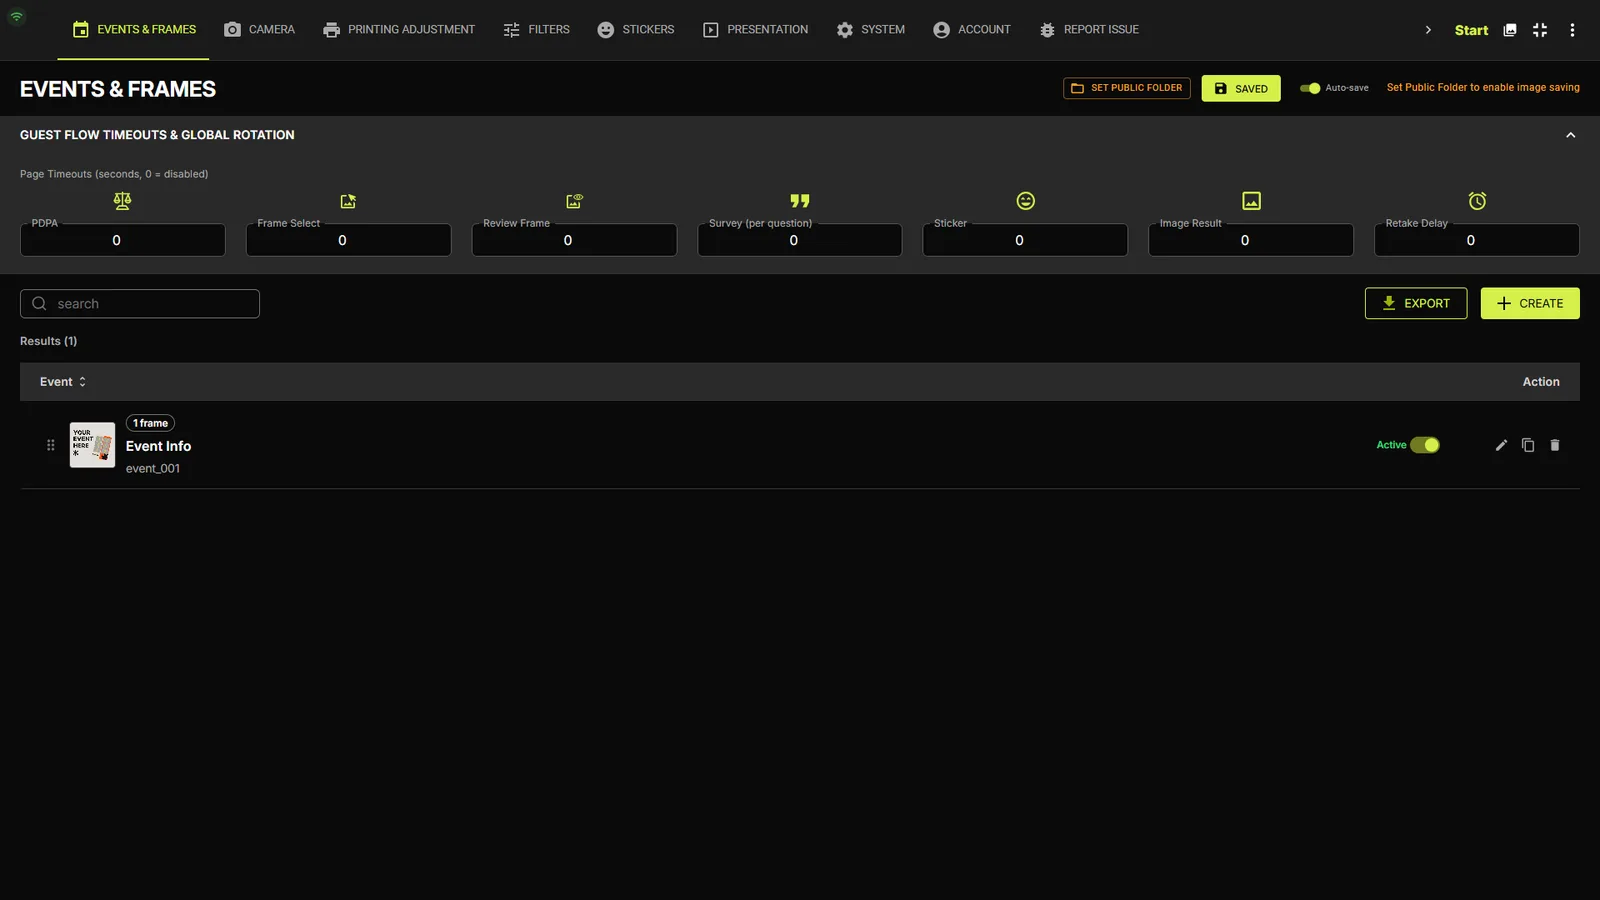
Expand the GUEST FLOW TIMEOUTS & GLOBAL ROTATION bar to set auto-advance timers for each guest page: PDPA, Frame Select, Review Frame, Survey (per question), Sticker, Image Result and Retake Delay. 0s disables the timer for that page.
Creating & editing events
Press CREATE
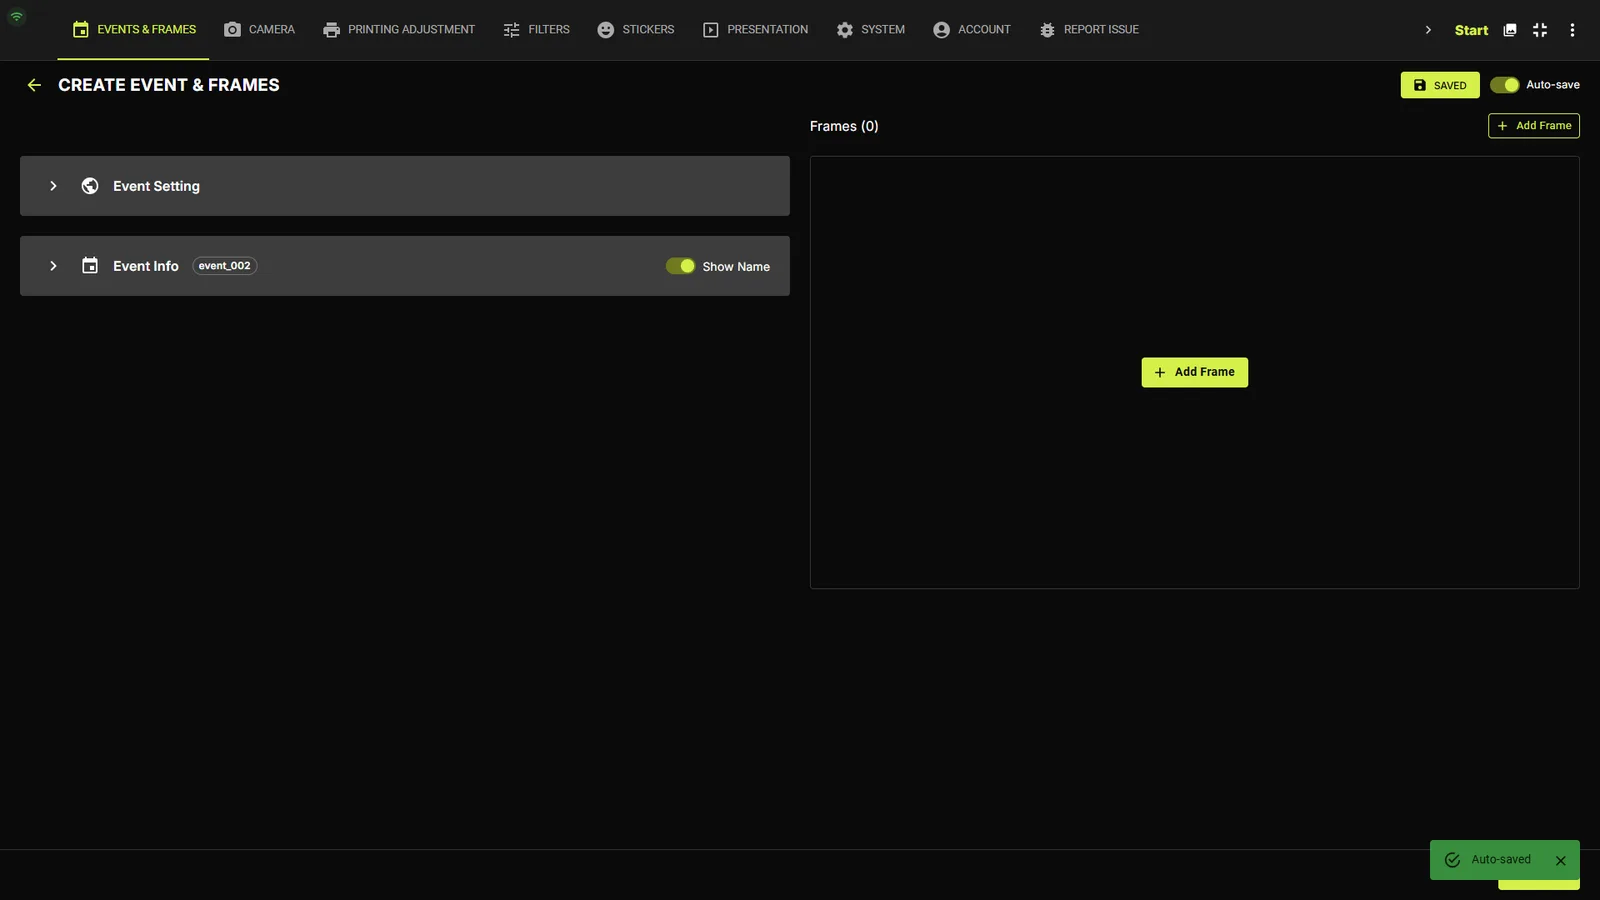
The CREATE EVENT & FRAMES overlay opens. Fill in the event name (the Event ID like event_001 is generated automatically) and add one or more frames with Add Frame.
The event editor
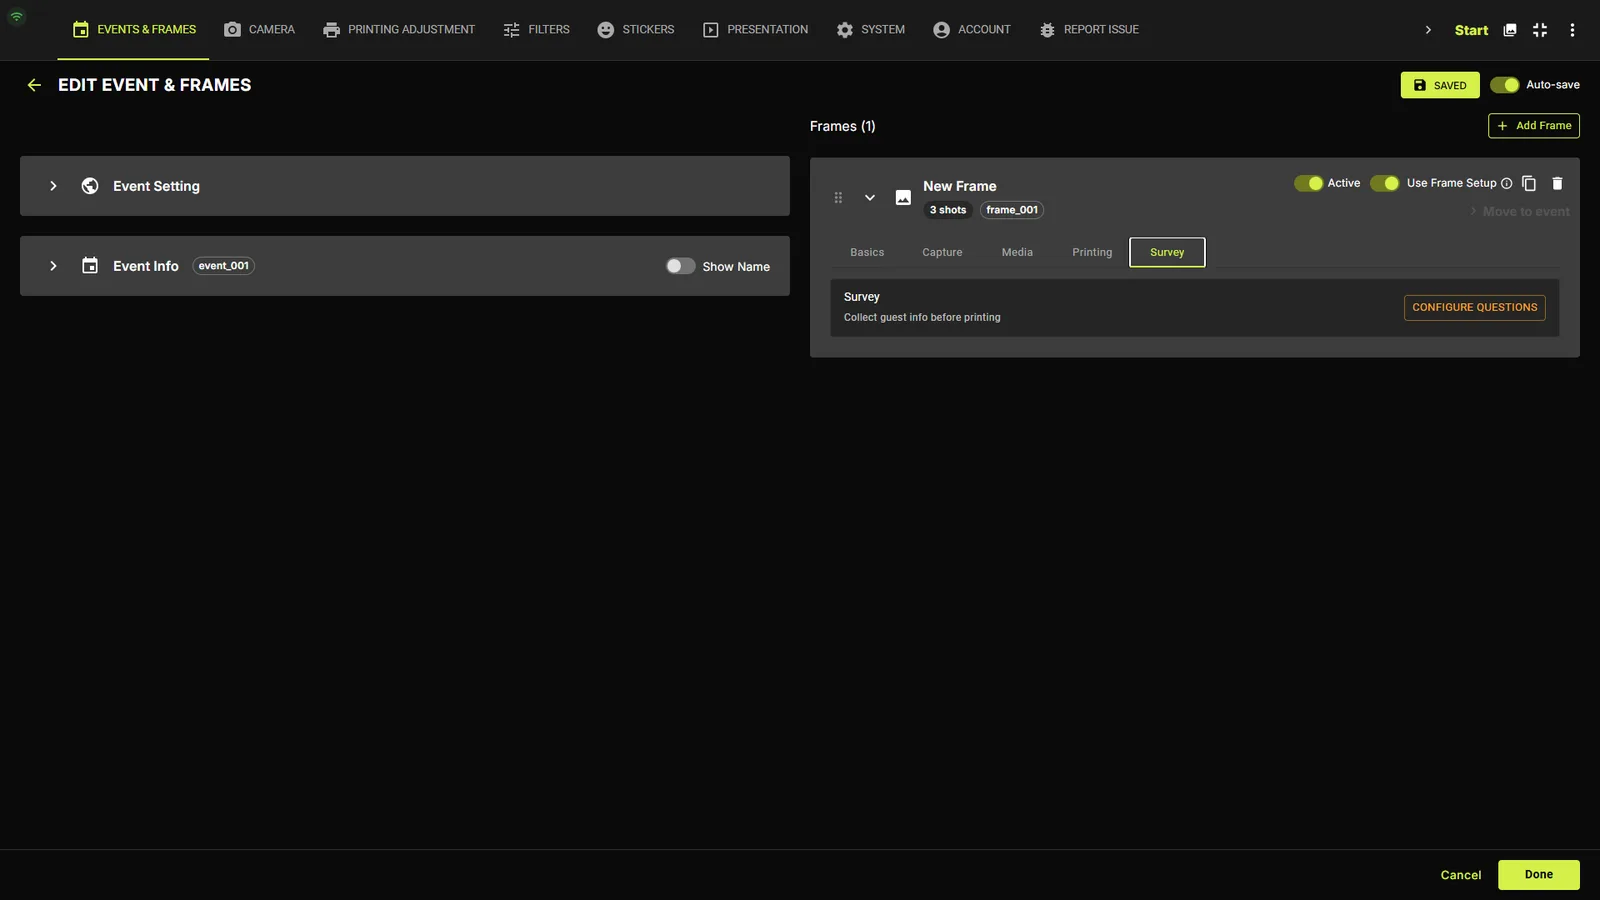
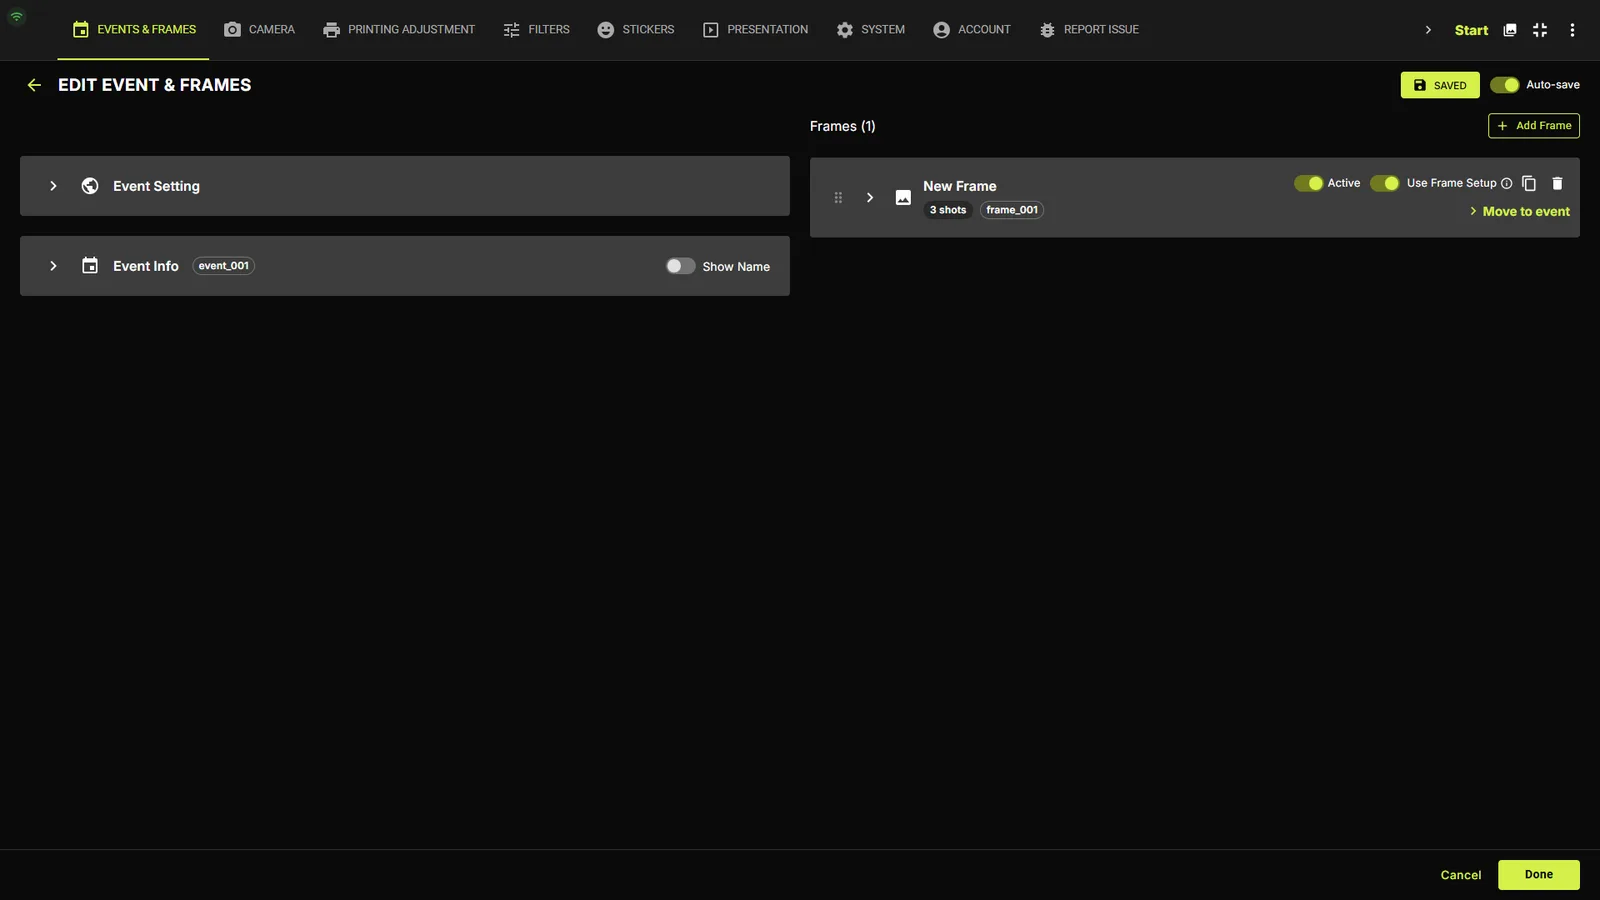
Press the pencil icon on an event row to open EDIT EVENT & FRAMES: Event Setting and Event Info accordions on the left, the frame list on the right. Each frame row has Active and Use Frame Setup toggles, duplicate/delete icons and a Move to event action.
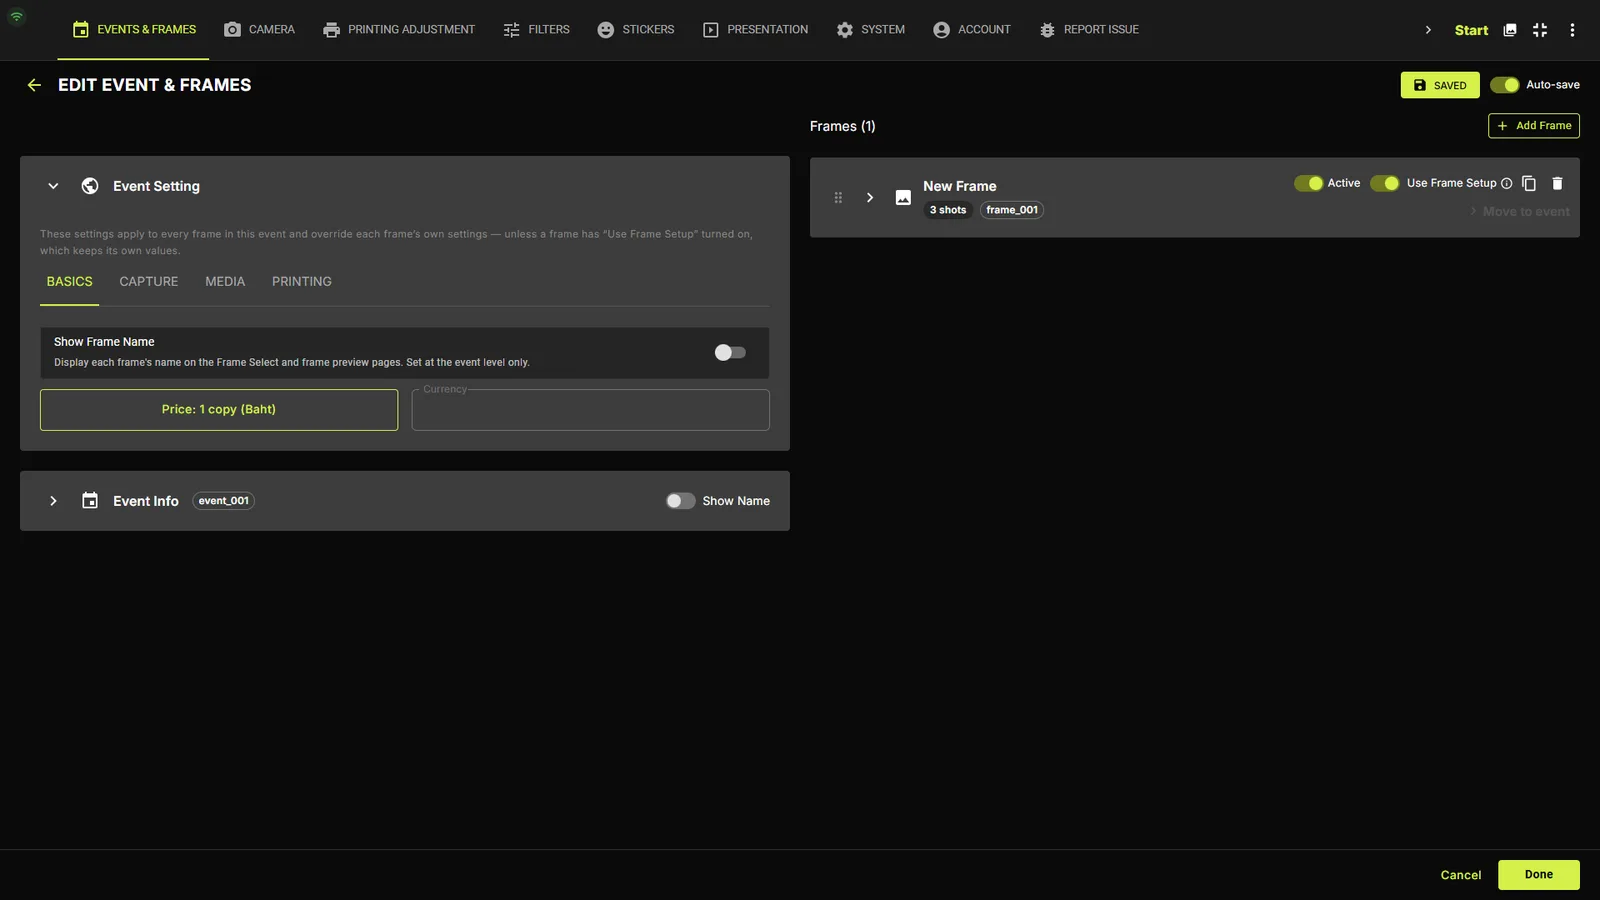
Event Setting — cover & pricing
Holds the event Cover Image (shown on the attract screen), the currency (default Baht) and event-level price rows. A frame with Use Frame Setup enabled overrides the event pricing with its own.
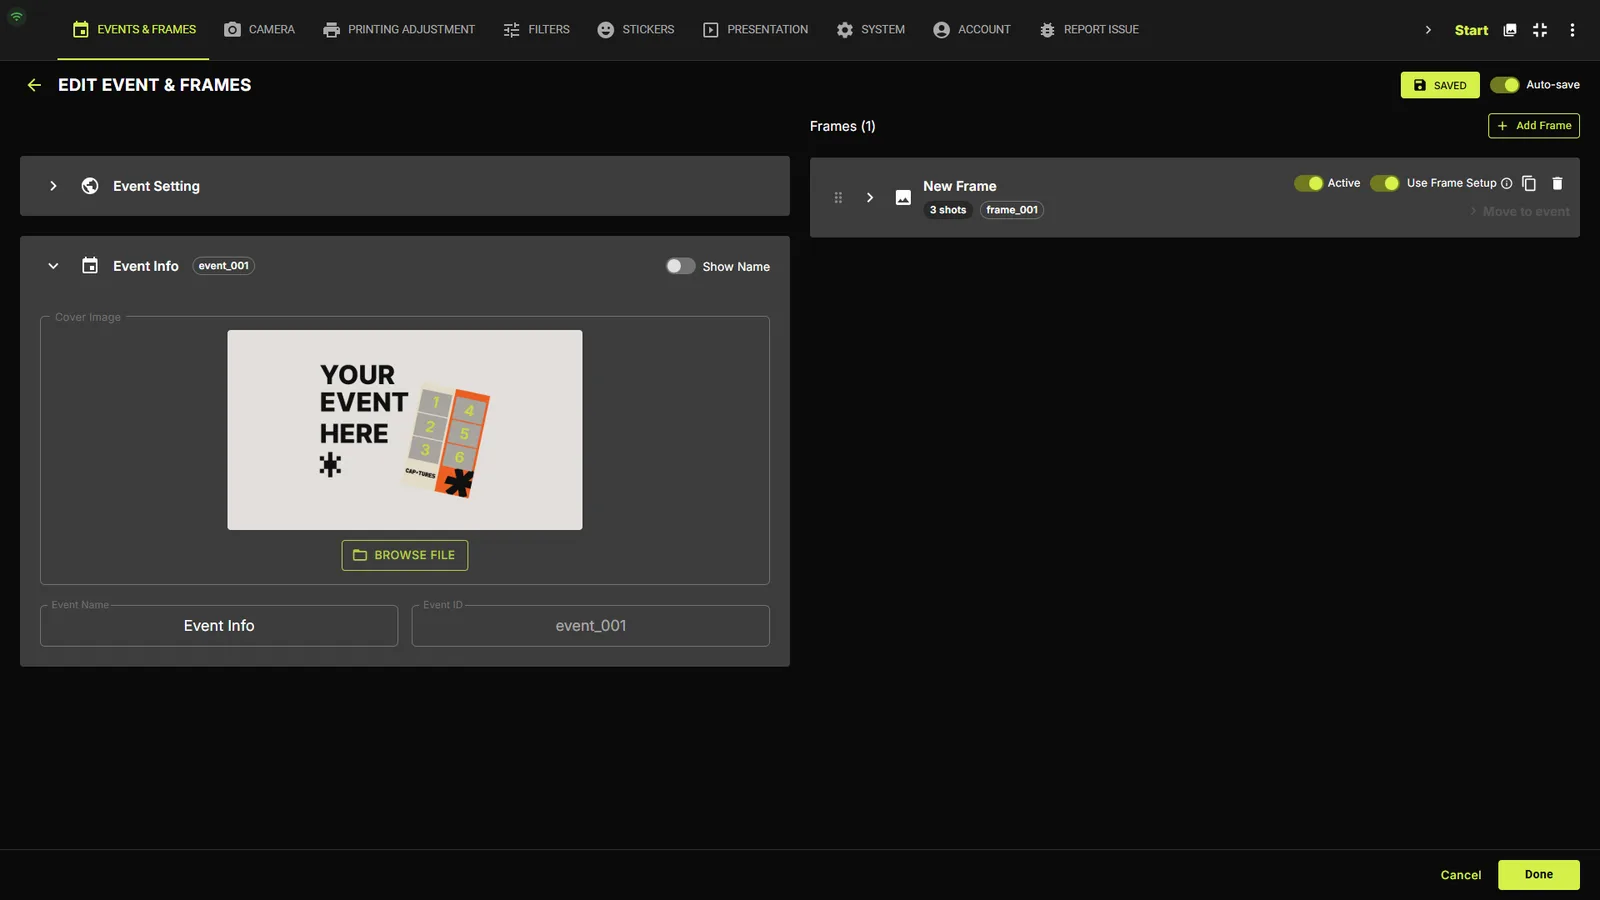
Event Info
Holds the event name, the read-only Event ID, and the Show Name toggle that displays the event title on the attract screen.
Reusing & sharing your setupPro
The EXPORT button on the Events & Frames tab packs your entire event setup — frames, stickers, audio, fonts and settings — into a single file you can import on another kiosk. It's the easiest way to roll out the same branded experience across multiple machines.
Frame — Basics tab
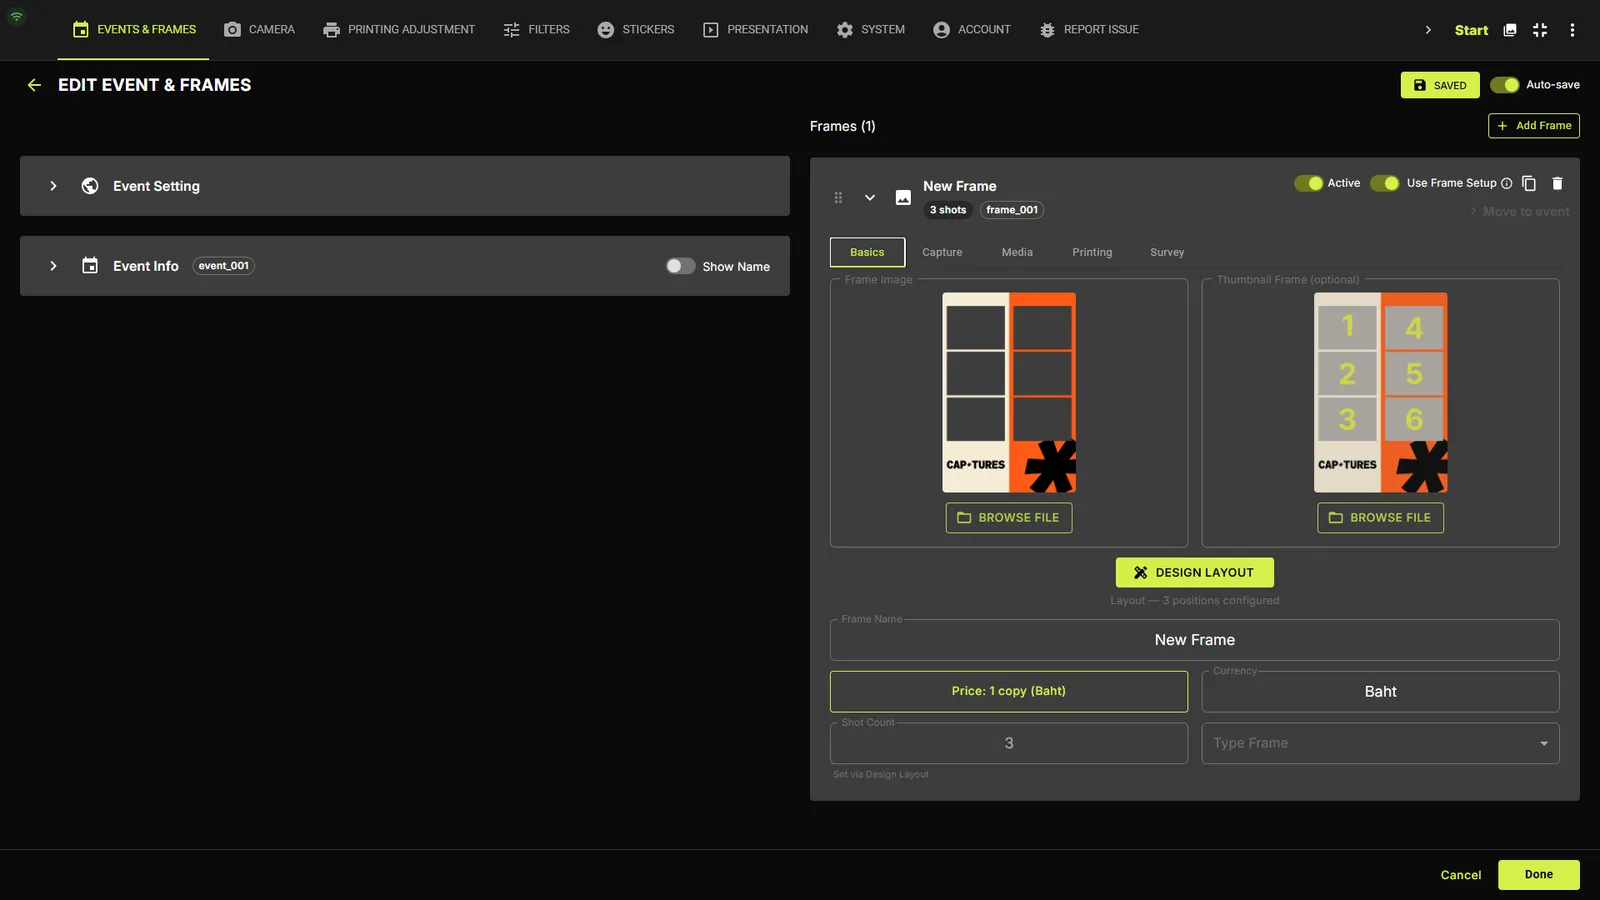
Expand a frame row to reveal five sub-tabs: Basics, Capture, Media, Printing and Survey.
Name, artwork & price
Set the Frame Name, BROWSE FILE for the frame artwork PNG and an optional Thumbnail Frame, set Price per copy and currency, and open DESIGN LAYOUT — the full Frame Designer (see its own chapter).
Frame — Capture tab
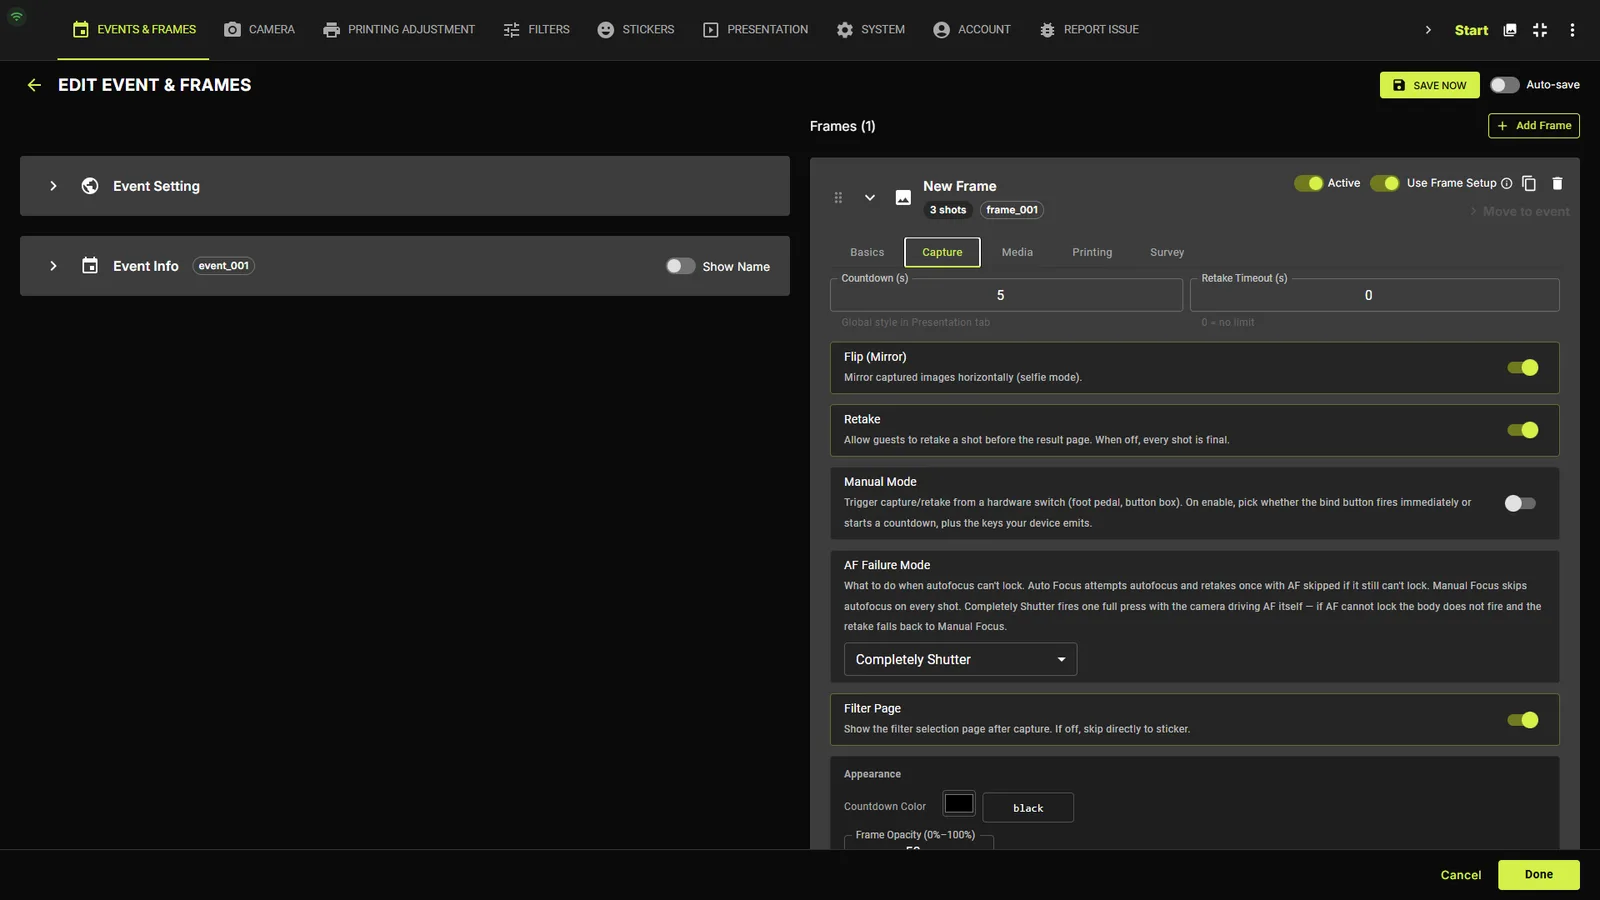
Everything about how this frame shoots. Exact controls, top to bottom:
Timing & behaviour
The top row holds Countdown (s) — seconds before each shot (global style set in the Presentation tab) — and Retake Timeout (s) where 0 = no limit.
| Control | What it does |
|---|---|
| Flip (Mirror) | Mirror captured images horizontally (selfie mode) |
| Retake | Allow guests to retake a shot before the result page; off = every shot is final (Pro) |
| Manual Mode | Trigger capture from a hardware switch (foot pedal / button box) — fires immediately or starts a countdown (Pro) |
| AF Failure Mode | What to do when autofocus can't lock: Auto Focus (retry once then skip AF), Manual Focus (skip AF every shot), or Completely Shutter (camera drives AF itself) |
| Filter Page | Show the filter selection page after capture; off = skip straight to sticker (Pro) |
| Sticker Page + Sticker Mode | Enable the decorate step; mode = Both, Sticker only, or Drawing only (Pro) |
Appearance — countdown color & frame opacity
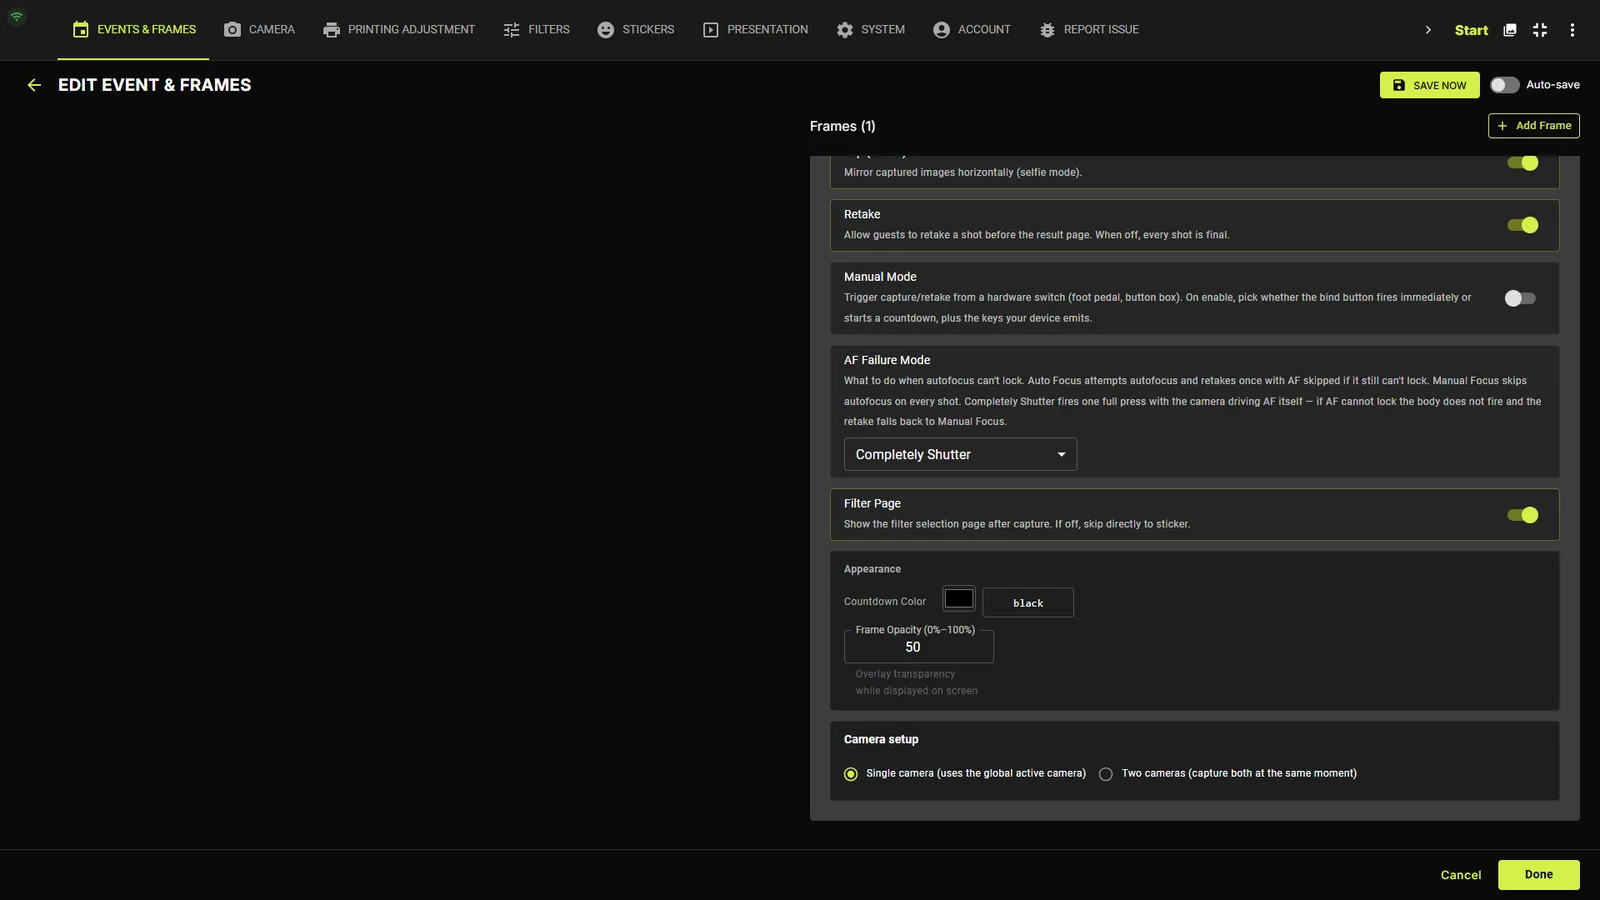
Countdown Color sets the countdown's color on the capture screen (color picker + name). Frame Opacity (0%–100%, default 50) is the transparency of the frame artwork overlaid on the live view while shooting — the print always uses the full-opacity artwork.
Camera setup (single / two cameras)Pro
At the bottom of the Capture tab: Single camera (uses the global active camera) or Two cameras (capture both at the same moment). The dual-camera options are covered in depth in the Frame Designer chapter.
Frame — Media tab & Custom GIF Layout
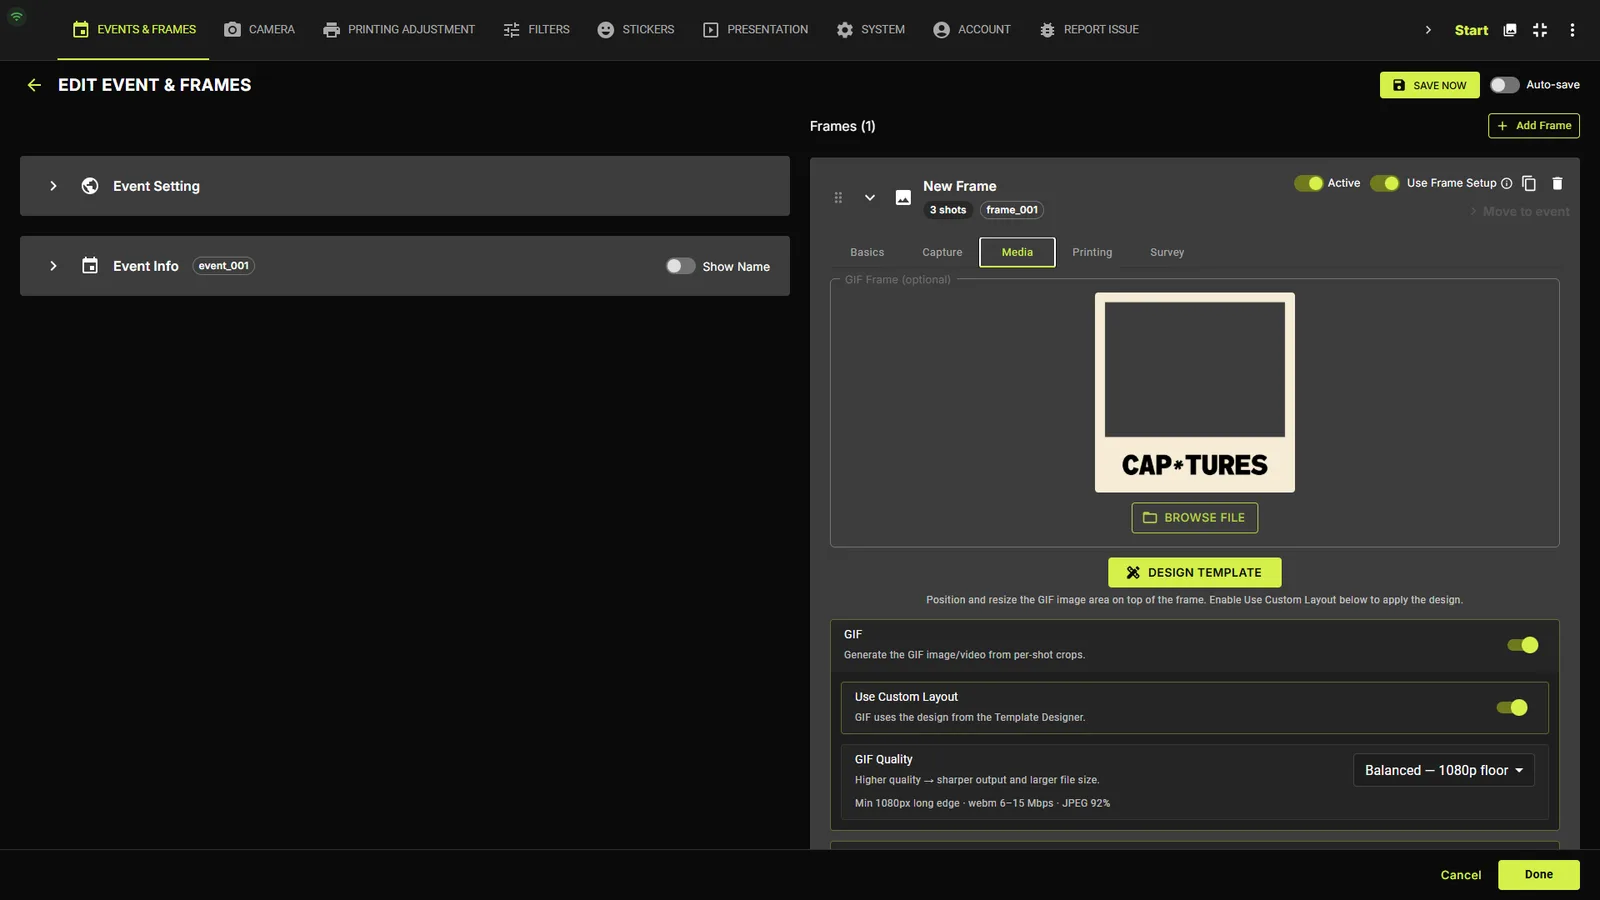
The Media tab produces the animated outputs of a session — the GIF and the LIVE Photo loop — and hosts the Custom GIF Layout designer.
Turn on GIF & pick the qualityPro
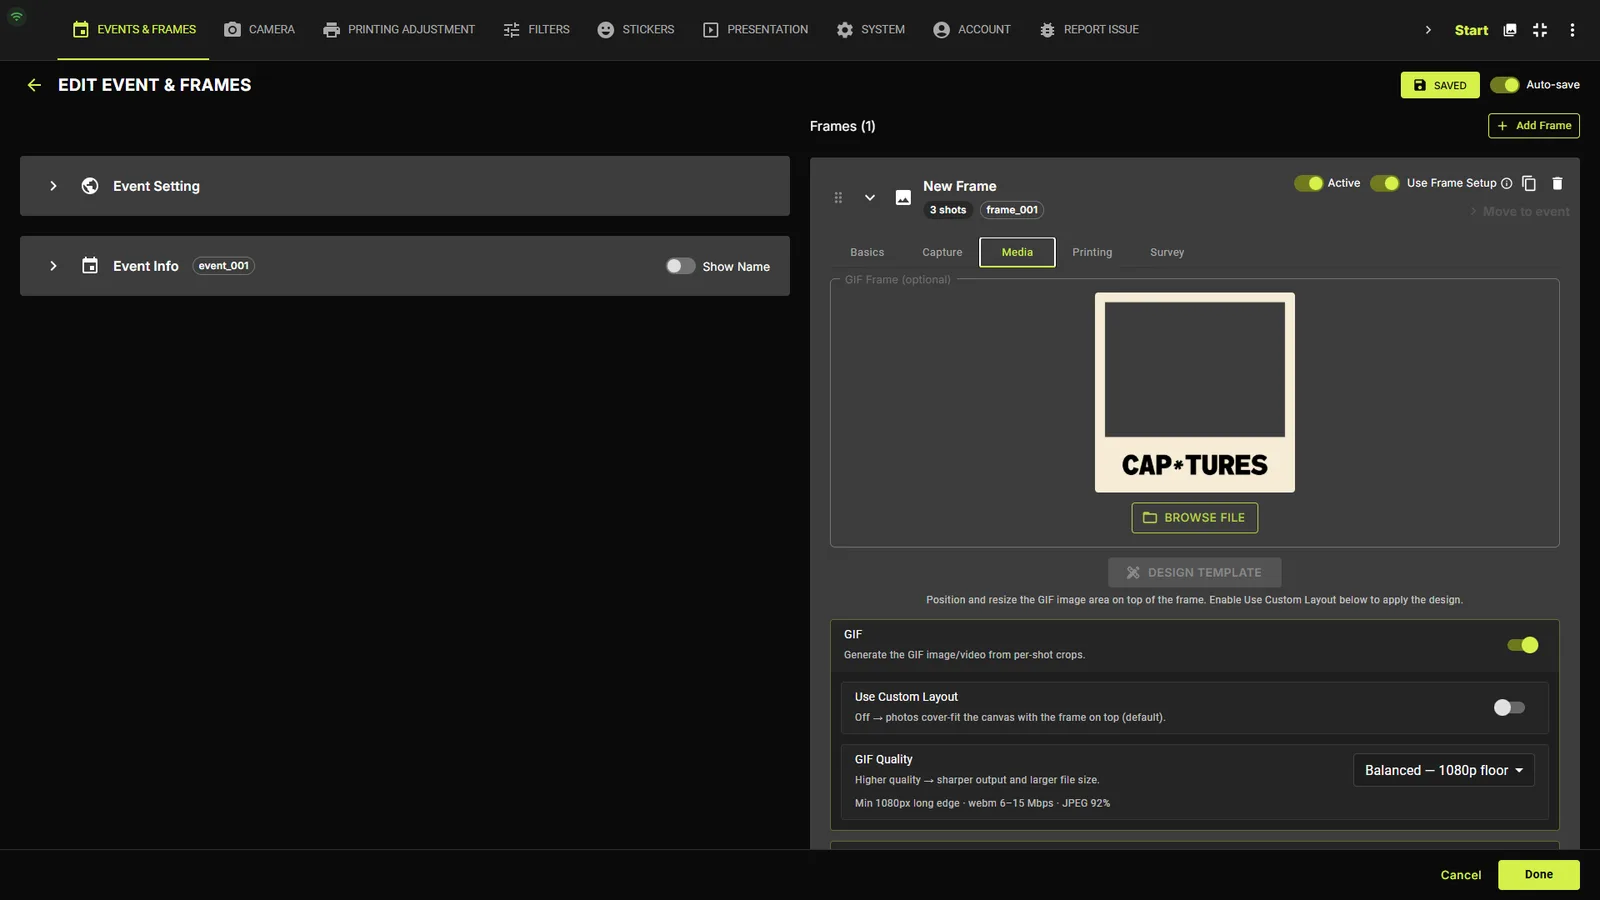
Enable the GIF toggle (“Generate the GIF image/video from per-shot crops”). GIF Quality offers Balanced — 1080p floor, High — 1280p floor and Max — 1920p floor; the caption below spells out the preset in numbers, e.g. “Min 1080px long edge · webm 6–15 Mbps · JPEG 92%”.
Default layout vs Custom LayoutPro
By default the GIF photos cover-fit the canvas with the frame artwork on top. For full control, upload a GIF Frame (optional) PNG in the dropzone at the top of the tab, then enable Use Custom Layout — the GIF will use the design from the Template Designer instead.
Design Template — GIF Image BoxPro
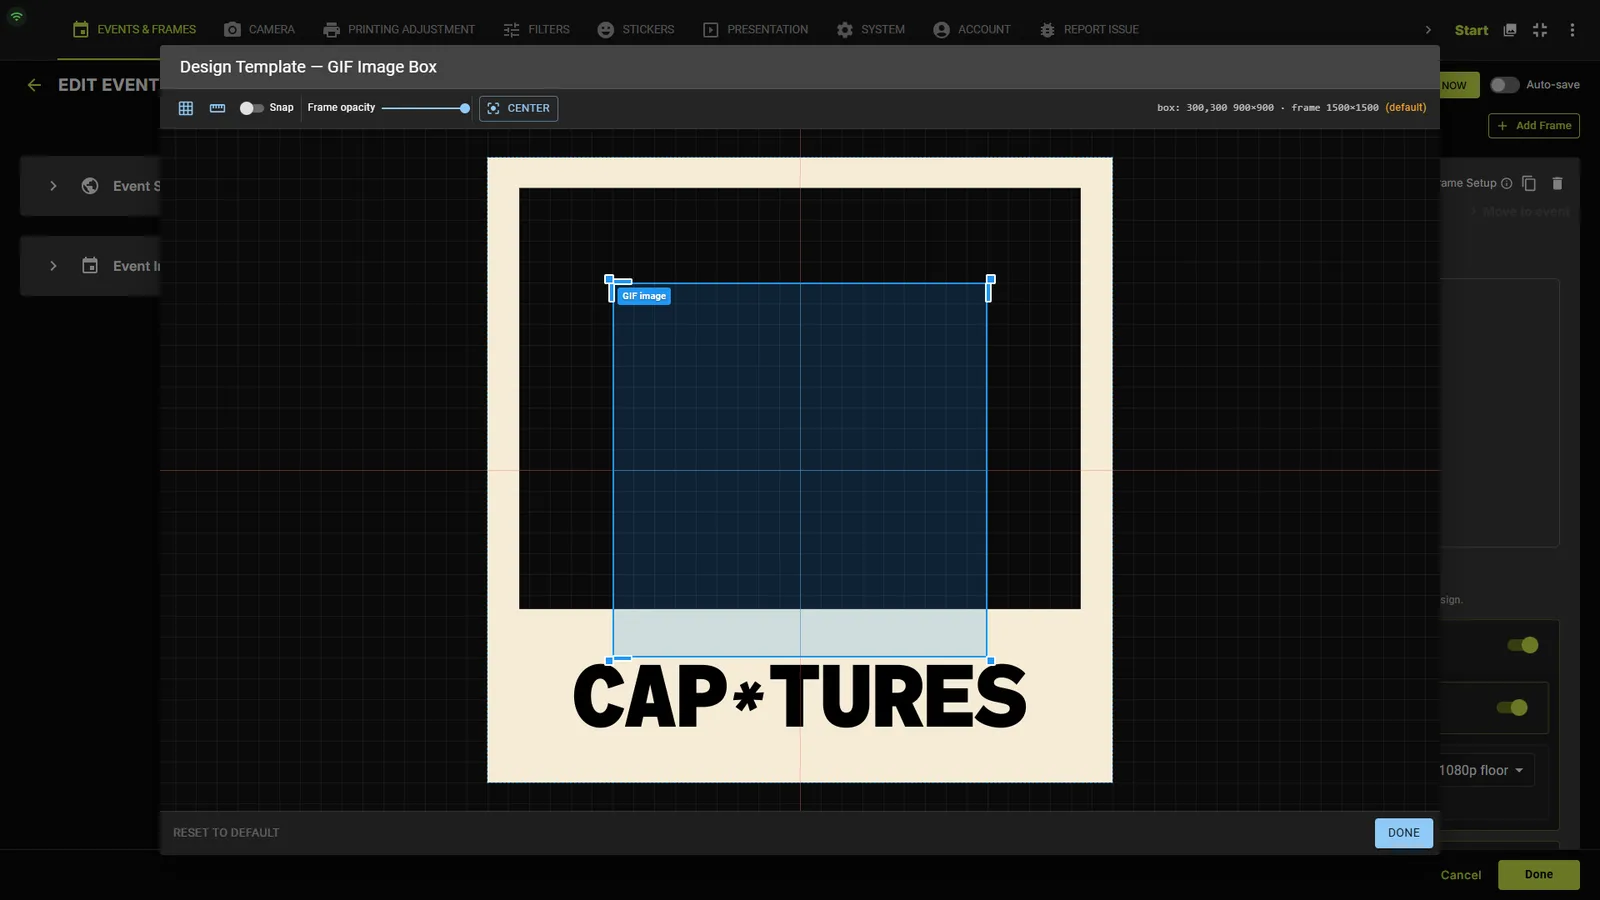
With a GIF frame uploaded and Use Custom Layout on, the DESIGN TEMPLATE button opens the “Design Template — GIF Image Box” dialog: drag and resize the single GIF image box over your artwork. The toolbar has grid, rulers & center guides, Snap with an editable Grid px value, a Frame opacity slider, and a CENTER button that resets the box to a centered 60% rectangle. A live readout shows the exact box position and frame size (e.g. box: 300,300 900×900 · frame 1500×1500). Finish with DONE, or RESET TO DEFAULT to discard the custom box.
TipThe frame artwork with a transparent window works best: the GIF plays inside the box you draw, and the artwork covers everything around it.
LIVE PhotoPro
The LIVE Photo toggle generates a looped video output for the frame, with a Max Video Frames per Shot control that trades memory for a longer loop.
Frame — Printing & Survey tabs
Printing — per-frame print behaviour
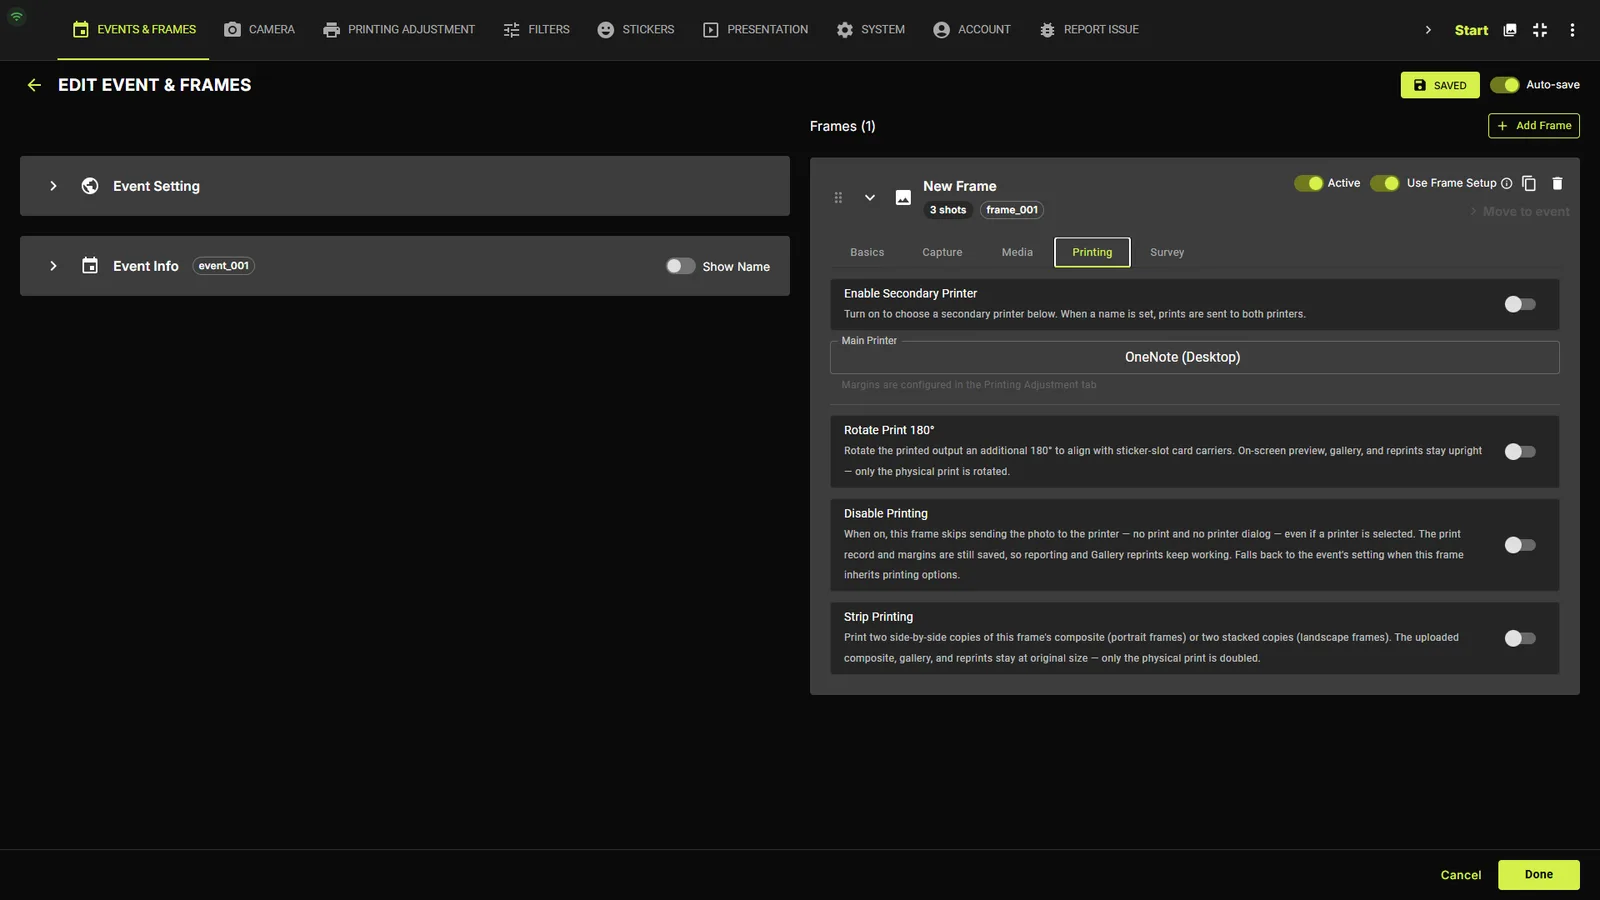
Choose Main Printer and an optional Secondary Printer, adjust Offset X/Y (mm), Scale (90–110%), Rotate Print 180°, enable Strip Printing for photo-strip layouts, or Disable Printing entirely for a digital-only frame.
Survey — questions guests answerPro
Add questions guests answer during the flow. Each question has a type — Text input (with Allowed input and Max characters), Single choice, or Multiple choice with answer options. Answers can be printed onto the frame via the Frame Designer's SURVEY ANSWER element, and a per-question timeout lives in GUEST FLOW TIMEOUTS.