Camera & Printing
Separate capture and live-view exposure profiles, autofocus methods, multi-camera bodies, and per-printer offset/scale calibration.
Camera tab — selection & rotation
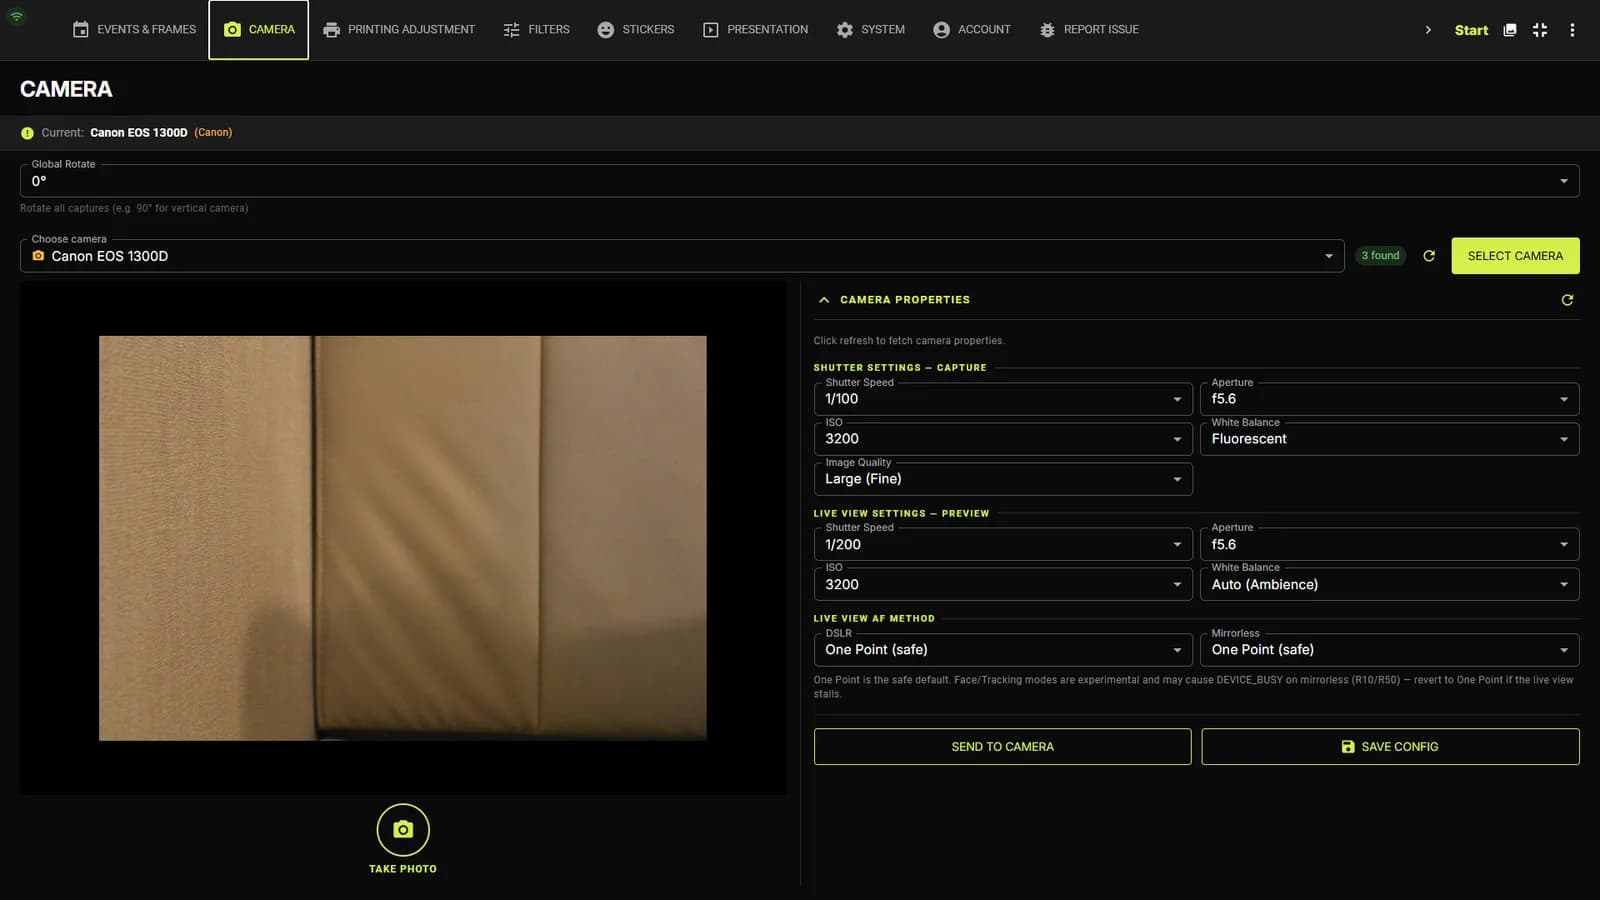
Choose camera & Global Rotate
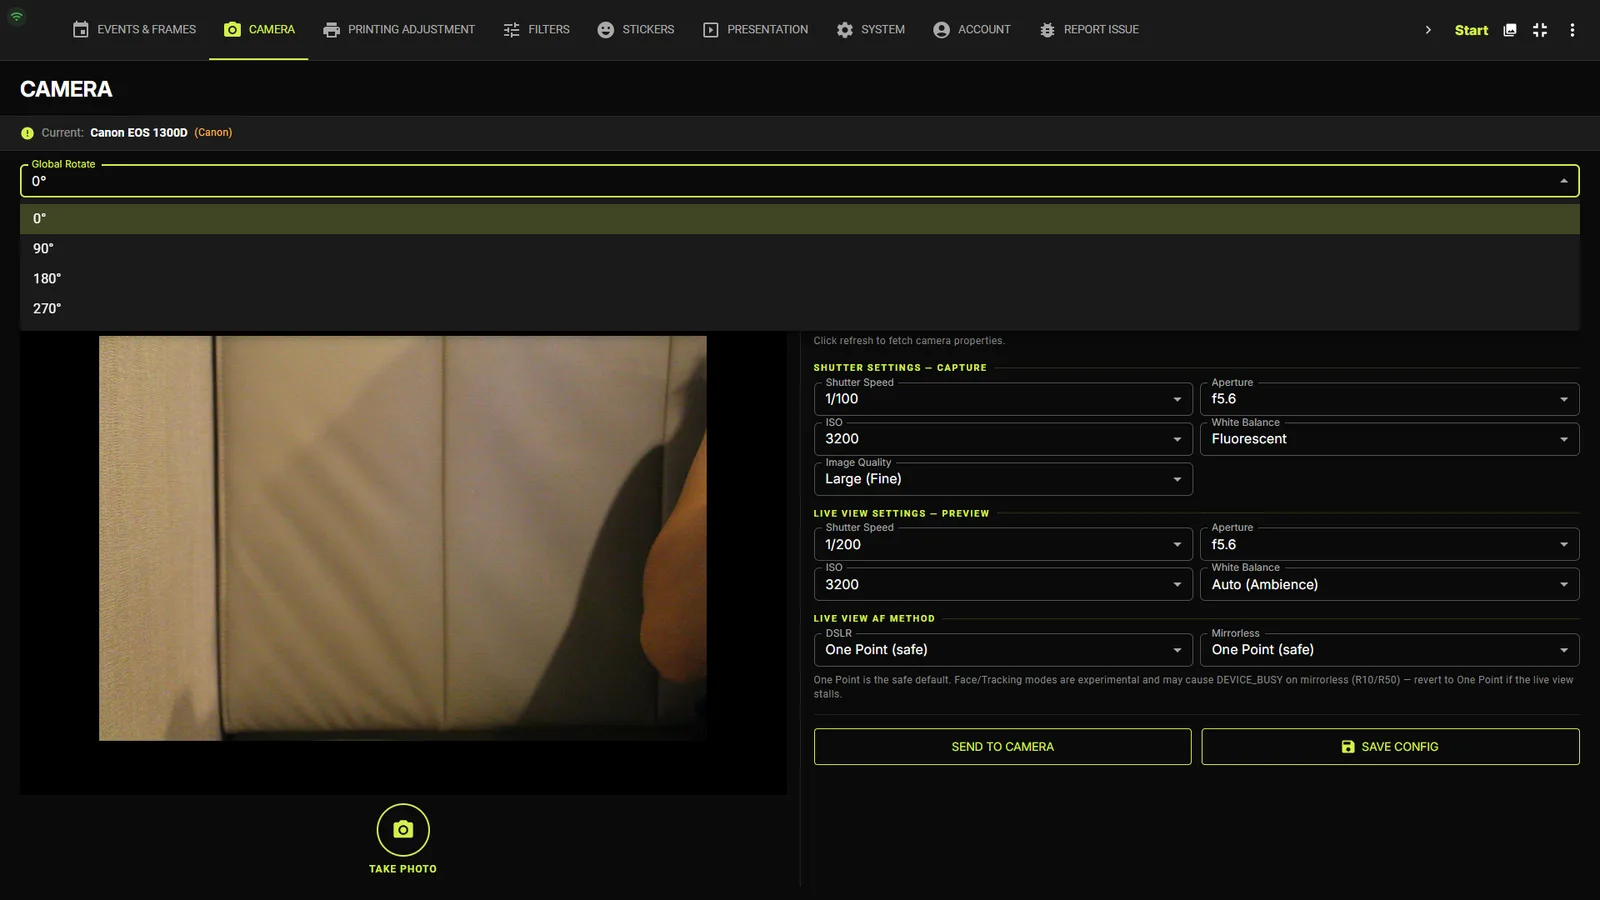
The Choose camera dropdown lists every detected device with a found-count chip (e.g. “3 found”) and a refresh icon; press SELECT CAMERA to make one active. Global Rotate (0° / 90° / 180° / 270°) rotates every capture — use 90° when the camera is mounted vertically.
Multiple bodies & webcamsPro
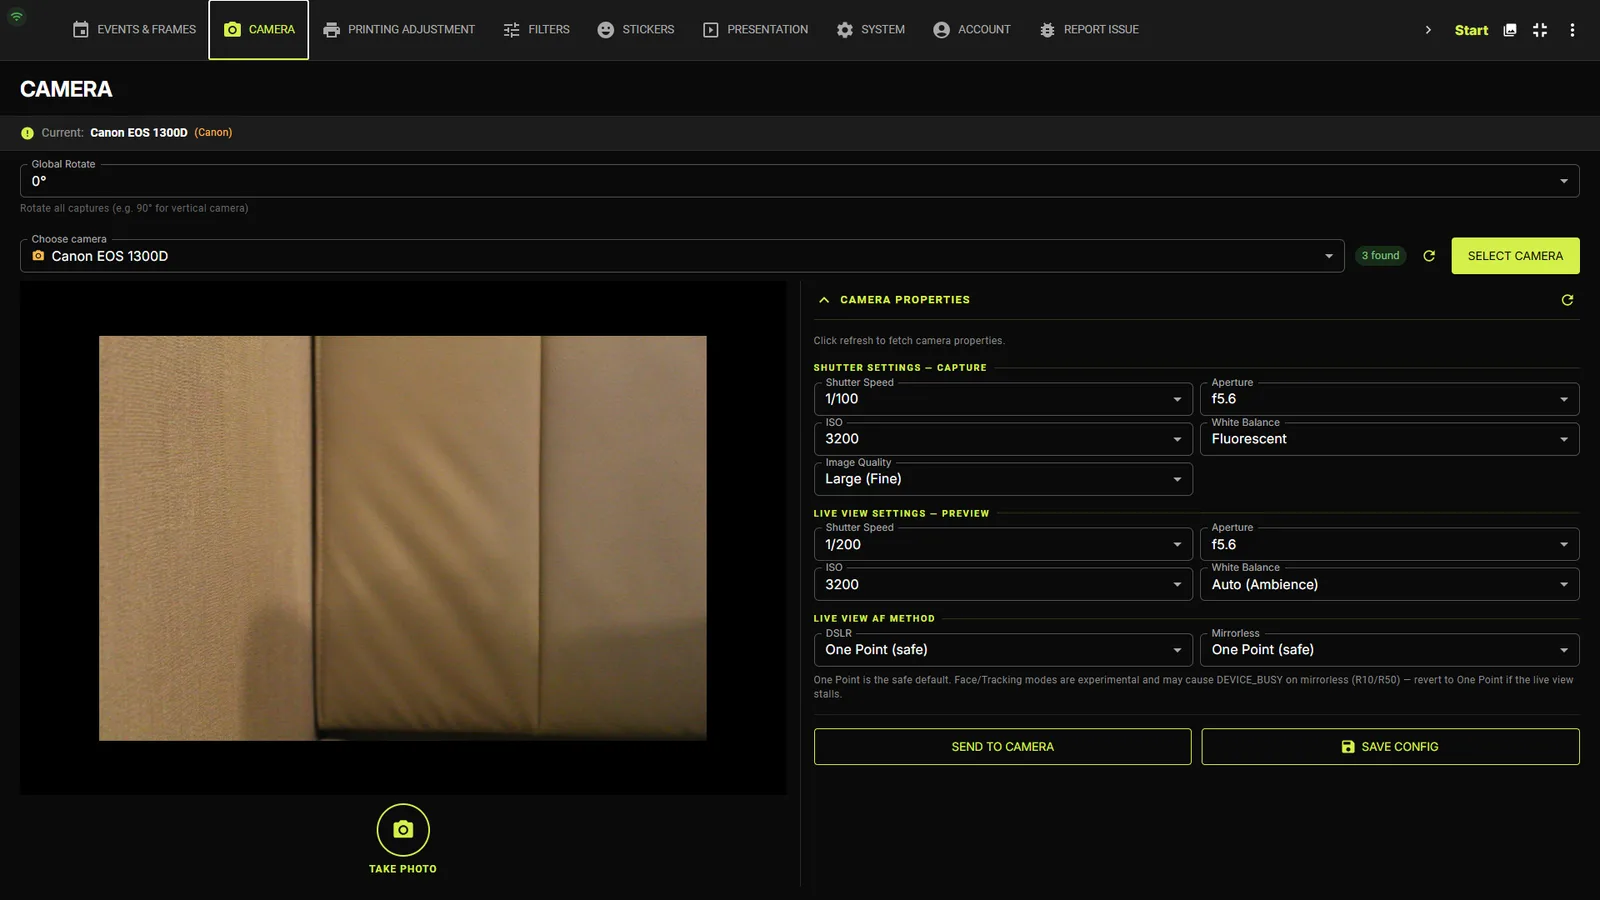
Connect two or more Canon bodies and per-camera tabs appear (e.g. “Cam 1 · Canon EOS R50”), each keeping its own exposure profile — required for dual-camera frames. When a webcam is selected, a Recording Warmup (s) field appears to let the sensor stabilise before capture.
Automatic recovery
If a camera runs into trouble mid-event (for example a slow shutter response), CAPTURES detects it and switches that body to a more reliable capture mode for the rest of the event — no action needed. Restarting the app reconnects every camera automatically.
Capture vs live-view exposure
The kiosk keeps two separate profiles: SHUTTER SETTINGS — CAPTURE for the saved photo, and LIVE VIEW SETTINGS — PREVIEW for what guests see on screen. A bright, smooth preview never compromises the final image.
The four exposure controls
Both profiles expose the same four dropdowns — Shutter Speed (Auto/Bulb, 30s down to 1/8000), Aperture (Auto, f1–f91), ISO (Auto, 100–819200) and White Balance (Auto Ambience/White, Daylight, Shade, Cloudy, Tungsten, Fluorescent, Flash, Color Temp, Custom 1–5). Typical indoor defaults:
| Setting | Capture default | Live view default |
|---|---|---|
| Shutter Speed | 1/160 | 1/30 (brighter preview) |
| Aperture | f8 | f5.6 |
| ISO | 400 | 1600 |
| White Balance | Auto (Ambience) | Auto (Ambience) |
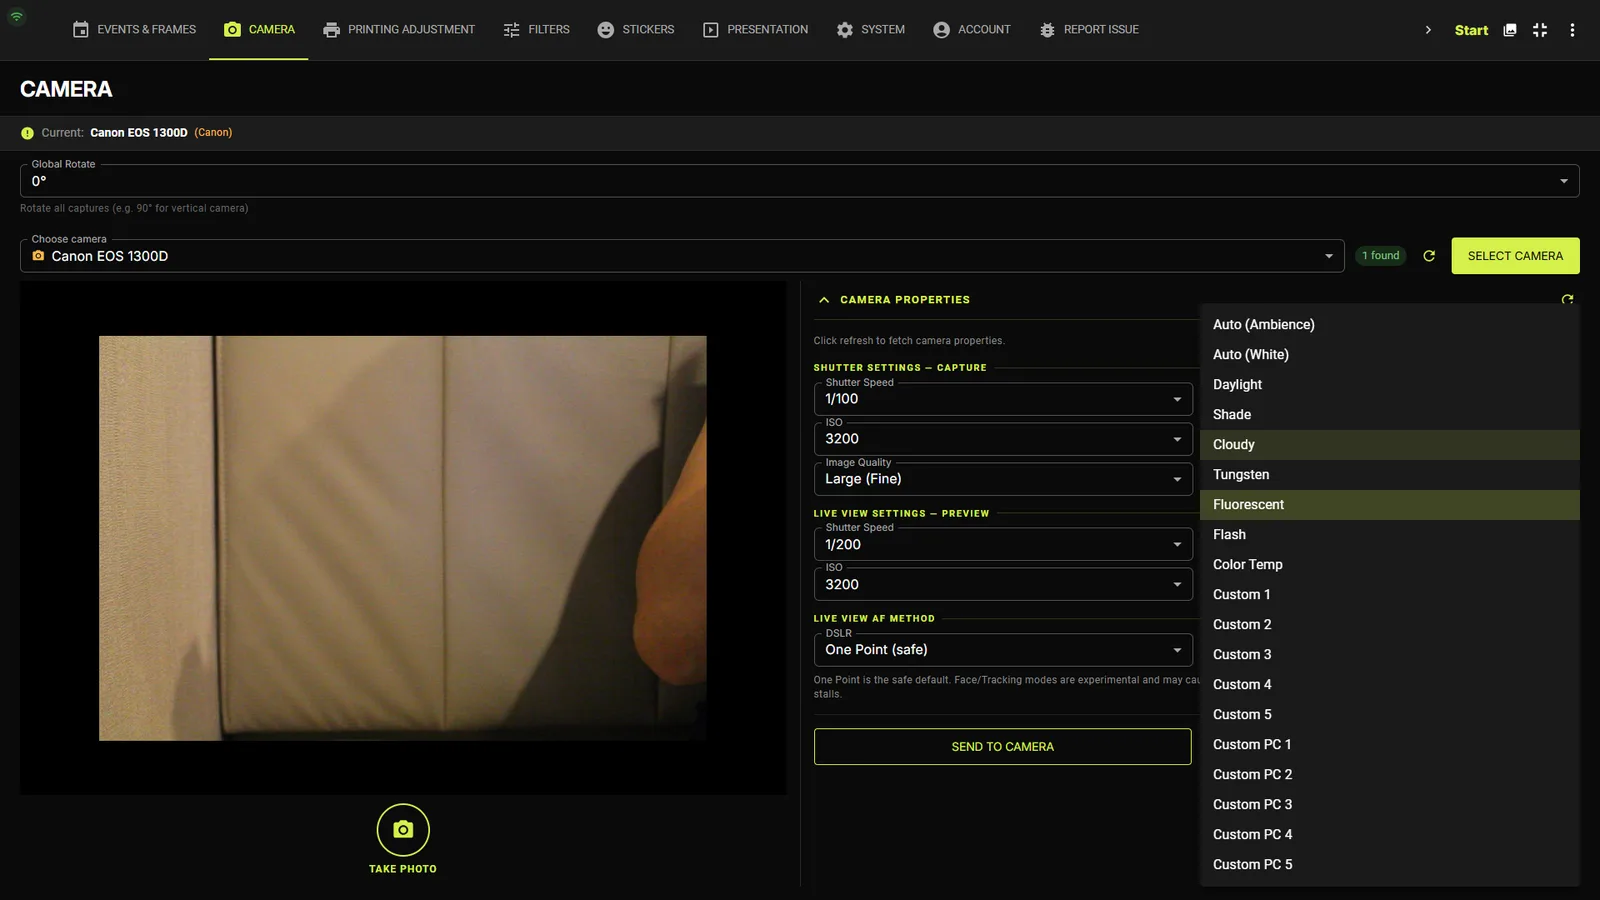
Image Quality
Choose Large / Medium / Small (Fine) — this is the saved JPEG size, not the preview. Smaller sizes capture and transfer faster and are still far above what a 4×6" print needs.
SEND TO CAMERA vs SAVE CONFIG
SEND TO CAMERA pushes the live-view values to the body immediately so you see the effect in the preview. SAVE CONFIG persists all profiles to disk (per camera). If the body rejects a value you get a clear error dialog listing the allowed values, and the dropdowns refresh.
TipUse TAKE PHOTO (the round button under the live view) to fire a test capture without entering the guest flow.
Live View AF Method
Two dropdowns — one for DSLR bodies, one for Mirrorless — choose the autofocus method used during live view: One Point (safe), Face + Tracking, Tracking (whole), Zone, Flexi Zone Multi, Spot, Quick (DSLR PDAF).
One Point is the safe default. Face/Tracking modes are experimental and can cause DEVICE_BUSY stalls on mirrorless bodies (R10/R50) — switch back to One Point if the live view freezes.
Printing Adjustment tab
Calibrate each printer
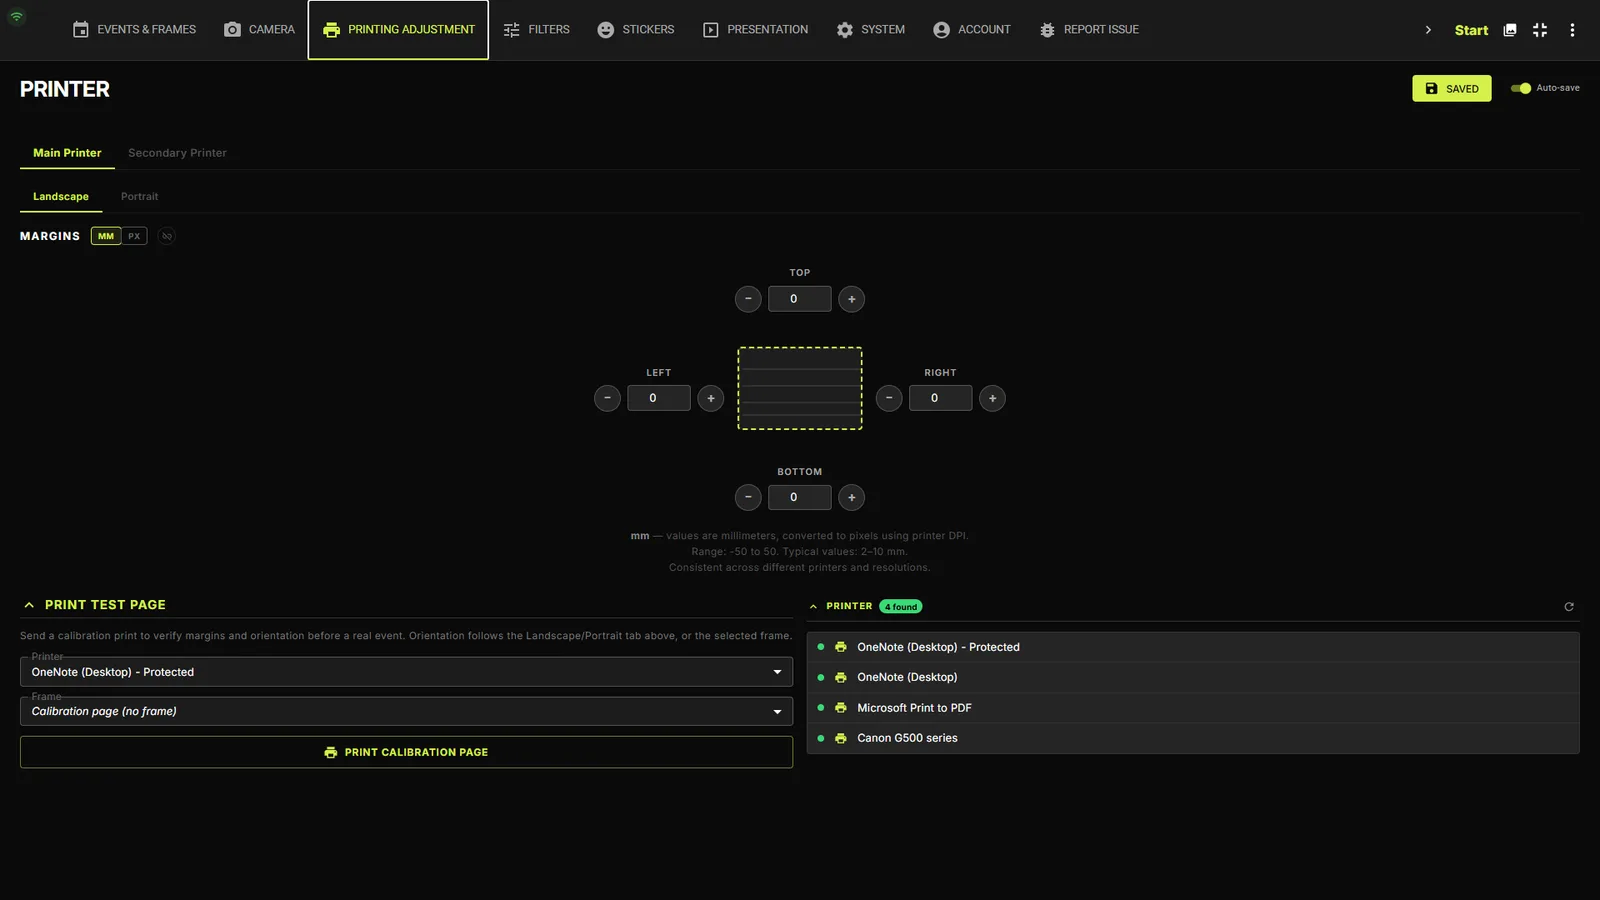
Pick the Main Printer (and optionally enable a Secondary Printer). Then dial in Offset X/Y in millimetres, Scale between 90–110%, and Rotate Print 180° until a TEST PRINT lines up perfectly with the paper. Every printer keeps its own saved calibration, so swapping printers never loses your setup.
Strip printing & digital-only frames
The default output is a high-resolution 6×4" print at 300 DPI, with a two-up “photo strip” layout available via Strip Printing. Disable Printing turns a frame into a digital-only experience (QR/email delivery, no paper).
Printer status & safety nets
CAPTURES surfaces the real printer status — offline, out of paper, jammed, or low on ink — so you know exactly what to check. And if a job is accidentally sent to a “Save as PDF” printer instead of a real one, the print is saved to a folder on the desktop instead of being lost.